(There is a new post on the previous page - just in case I haven't bored you to tears yet)
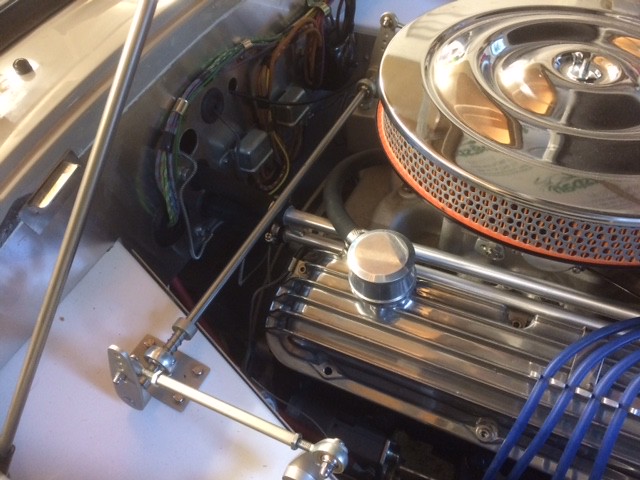
The other job that has been absorbing time and effort is the shrouding for the radiator. The difficult part for this job was to get the fit accurate of the lower portion of the forward facing blade so that when the plastic strip was in place and the blade was bolted into position, there was little gap between it and the front of the car (front lower valance? is that the term?) beneath where the grill sits. If a gap occurred the air could escape. Both blades were cut and recut so that eventually they fitted.
IMG_0716 by Cotton Mouth, on Flickr
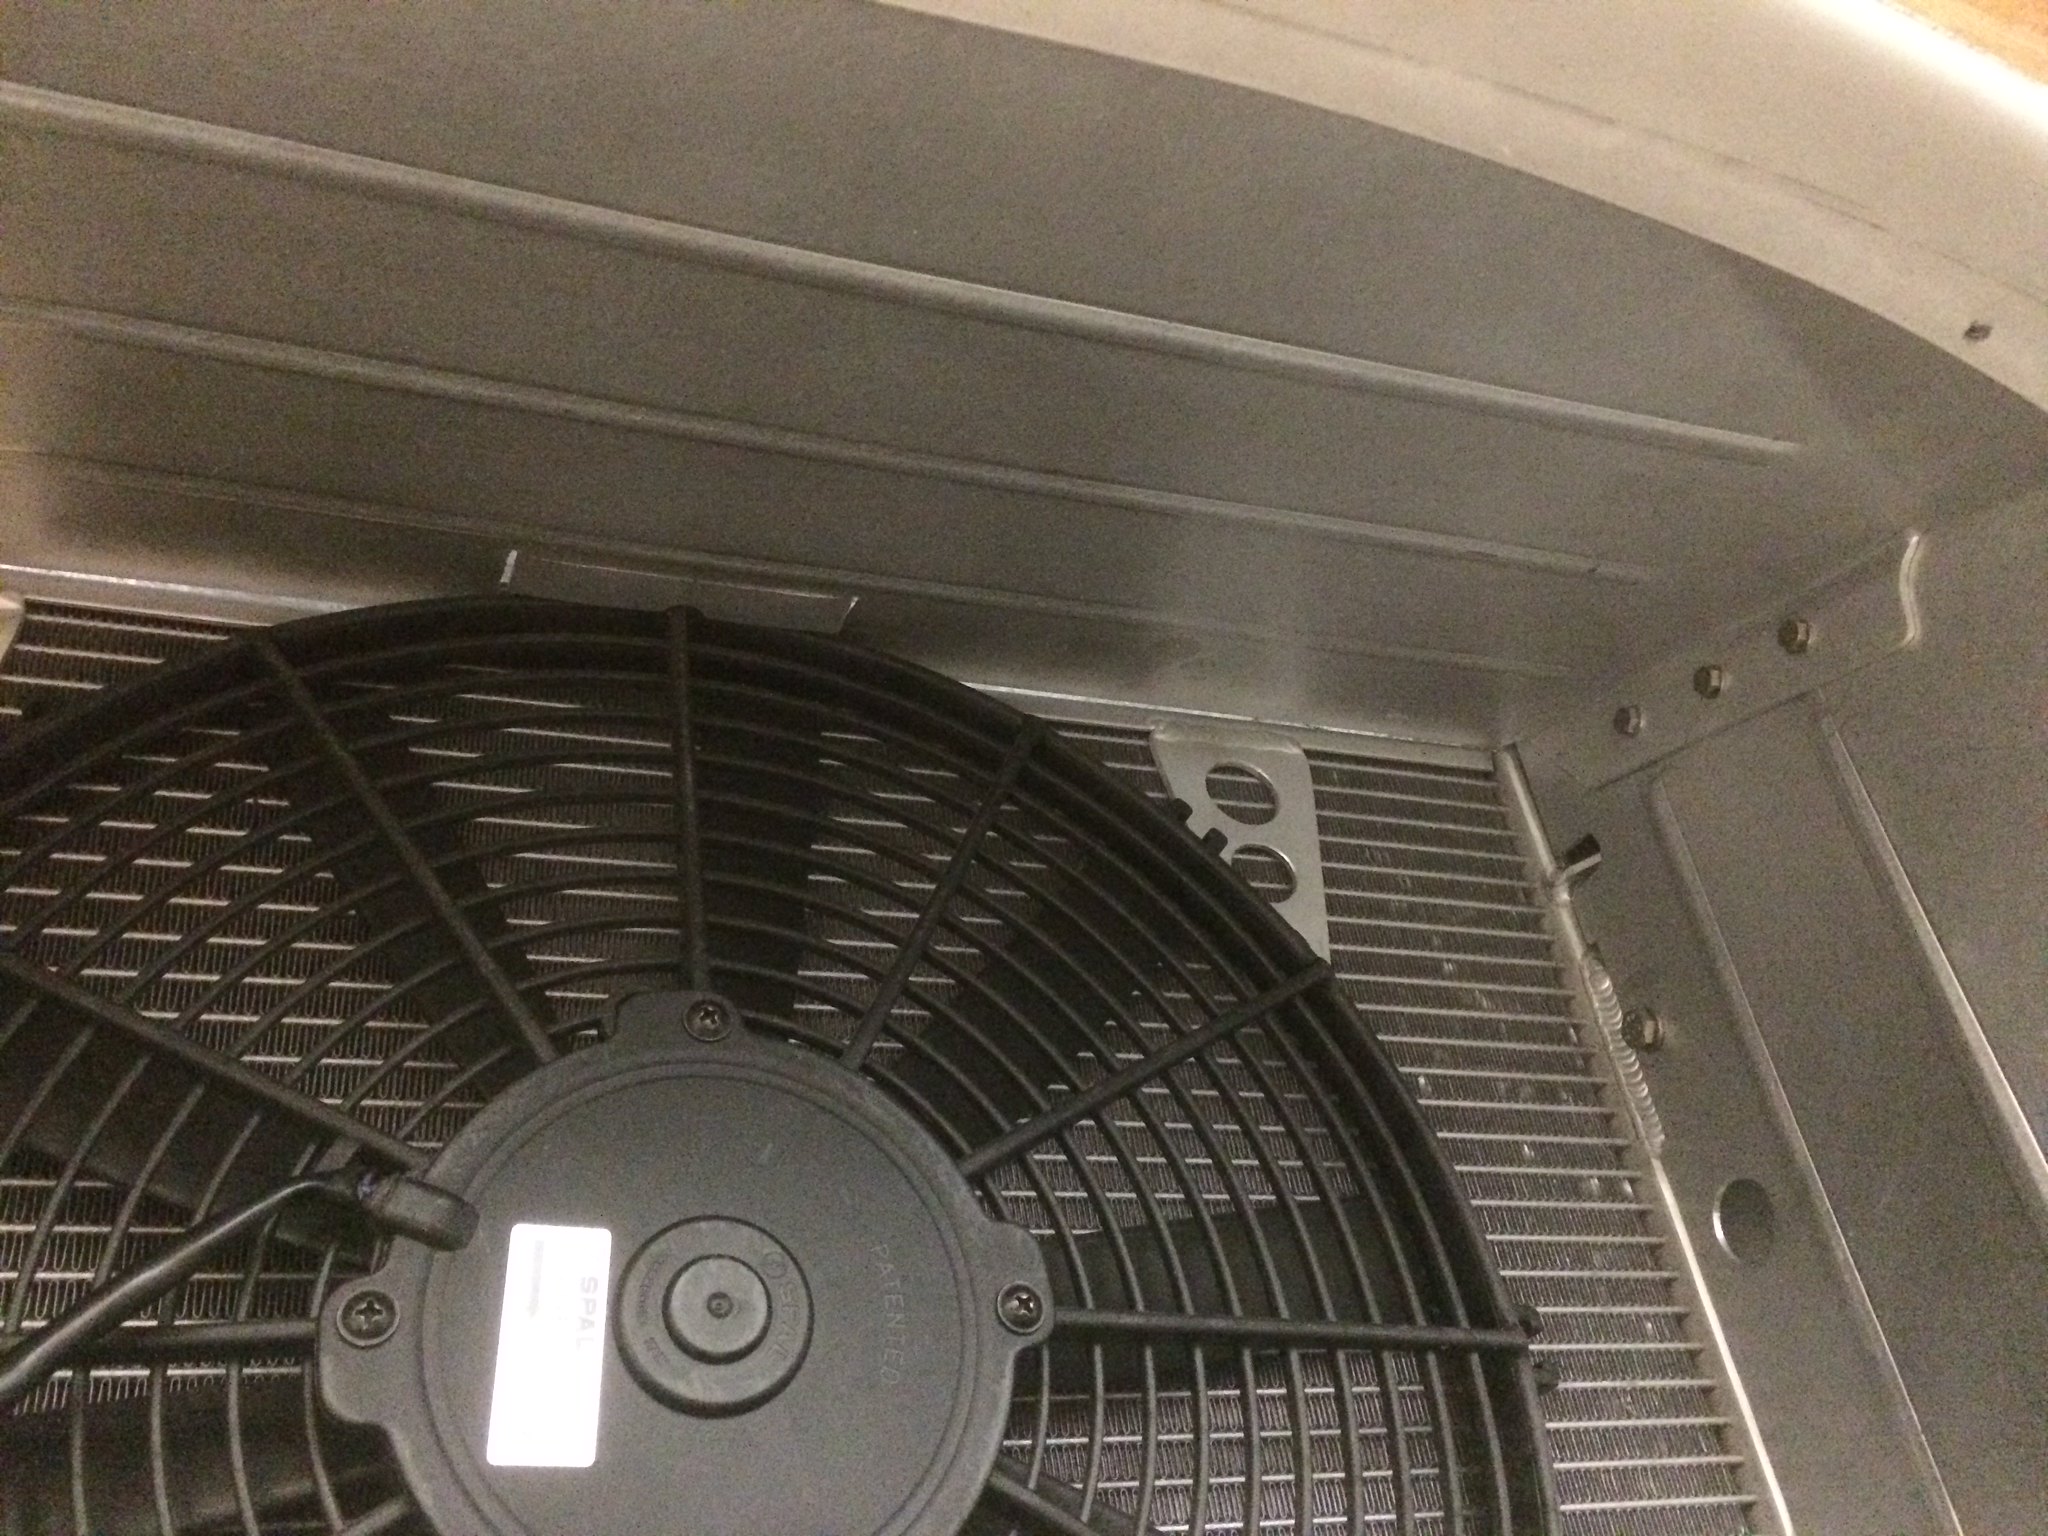
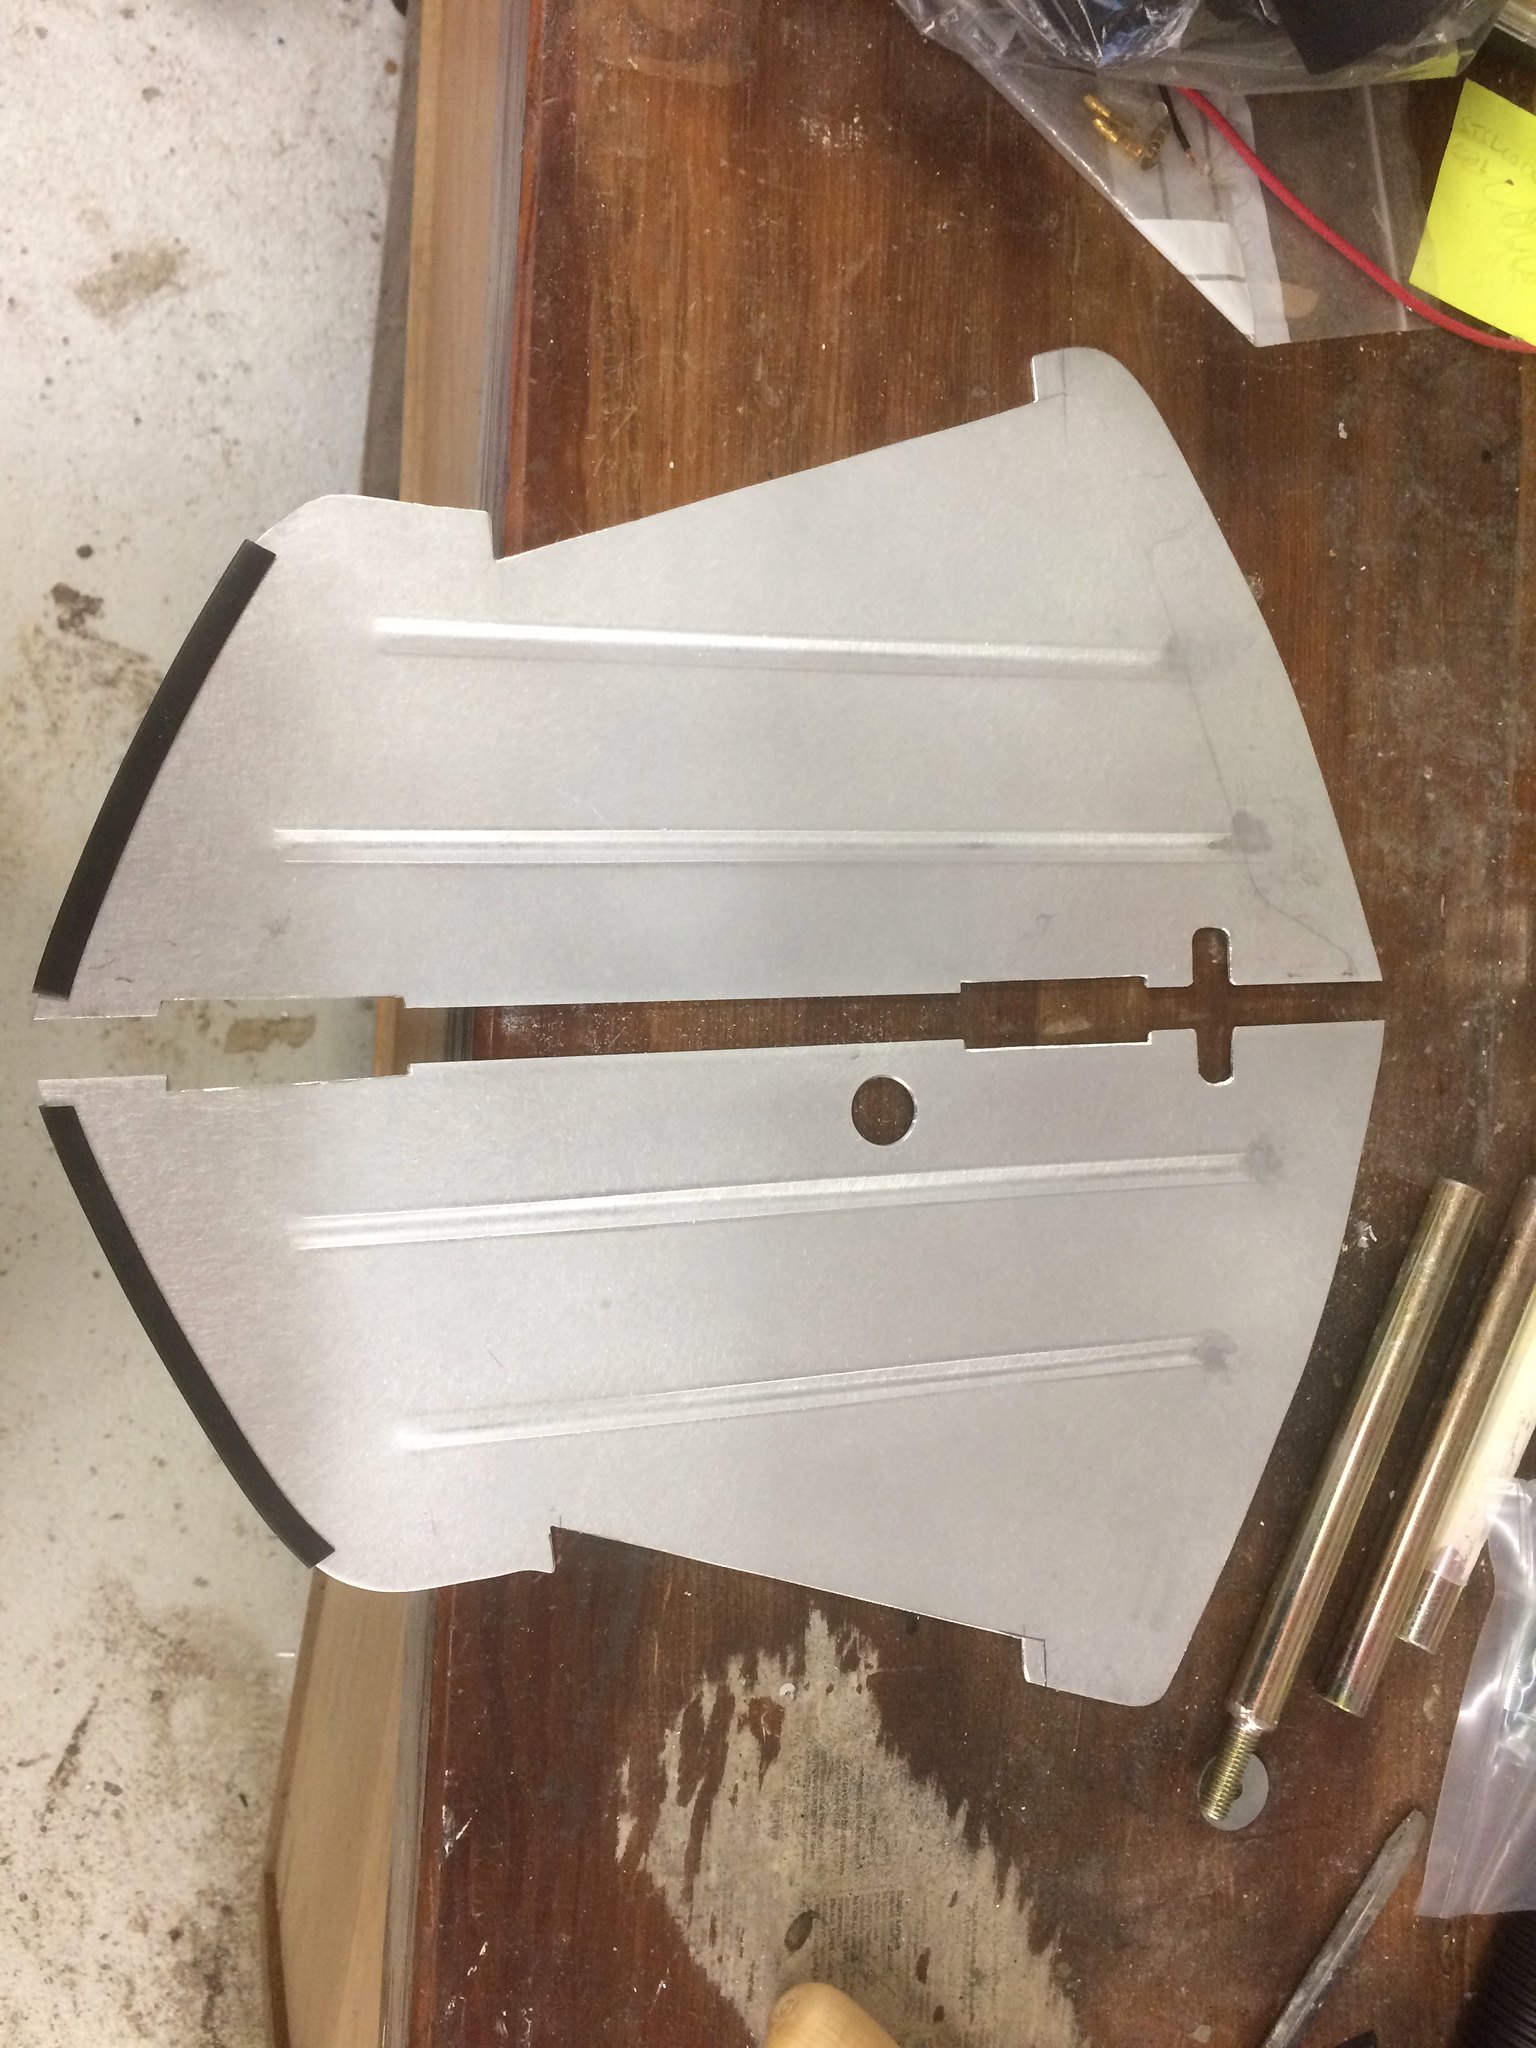
The hole in the lower plate towards the back, the nearside plate, is to allow the wiring for the fan to pass: the recesses in the front edge of the plate are to allow the grill to sit back into the aperture. The top plate then required work as it just rested on the shrouding around the fan. Hence, a slot was cut to allow the shroud some space and the aluminium in front of the slot bent downwards to ensure that any deflected air ended up inside the fan shrouding and passed through the radiator. Before any of you ask, yes, my OCD is under control, no I am not on prescribed medication for it - I am self medicating with beer and yes, it almost certainly makes no difference whatsoever but I enjoyed doing it.
IMG_0717 by Cotton Mouth, on Flickr
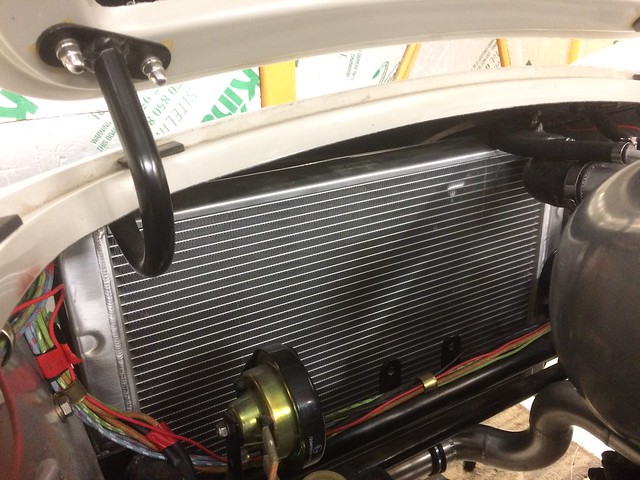
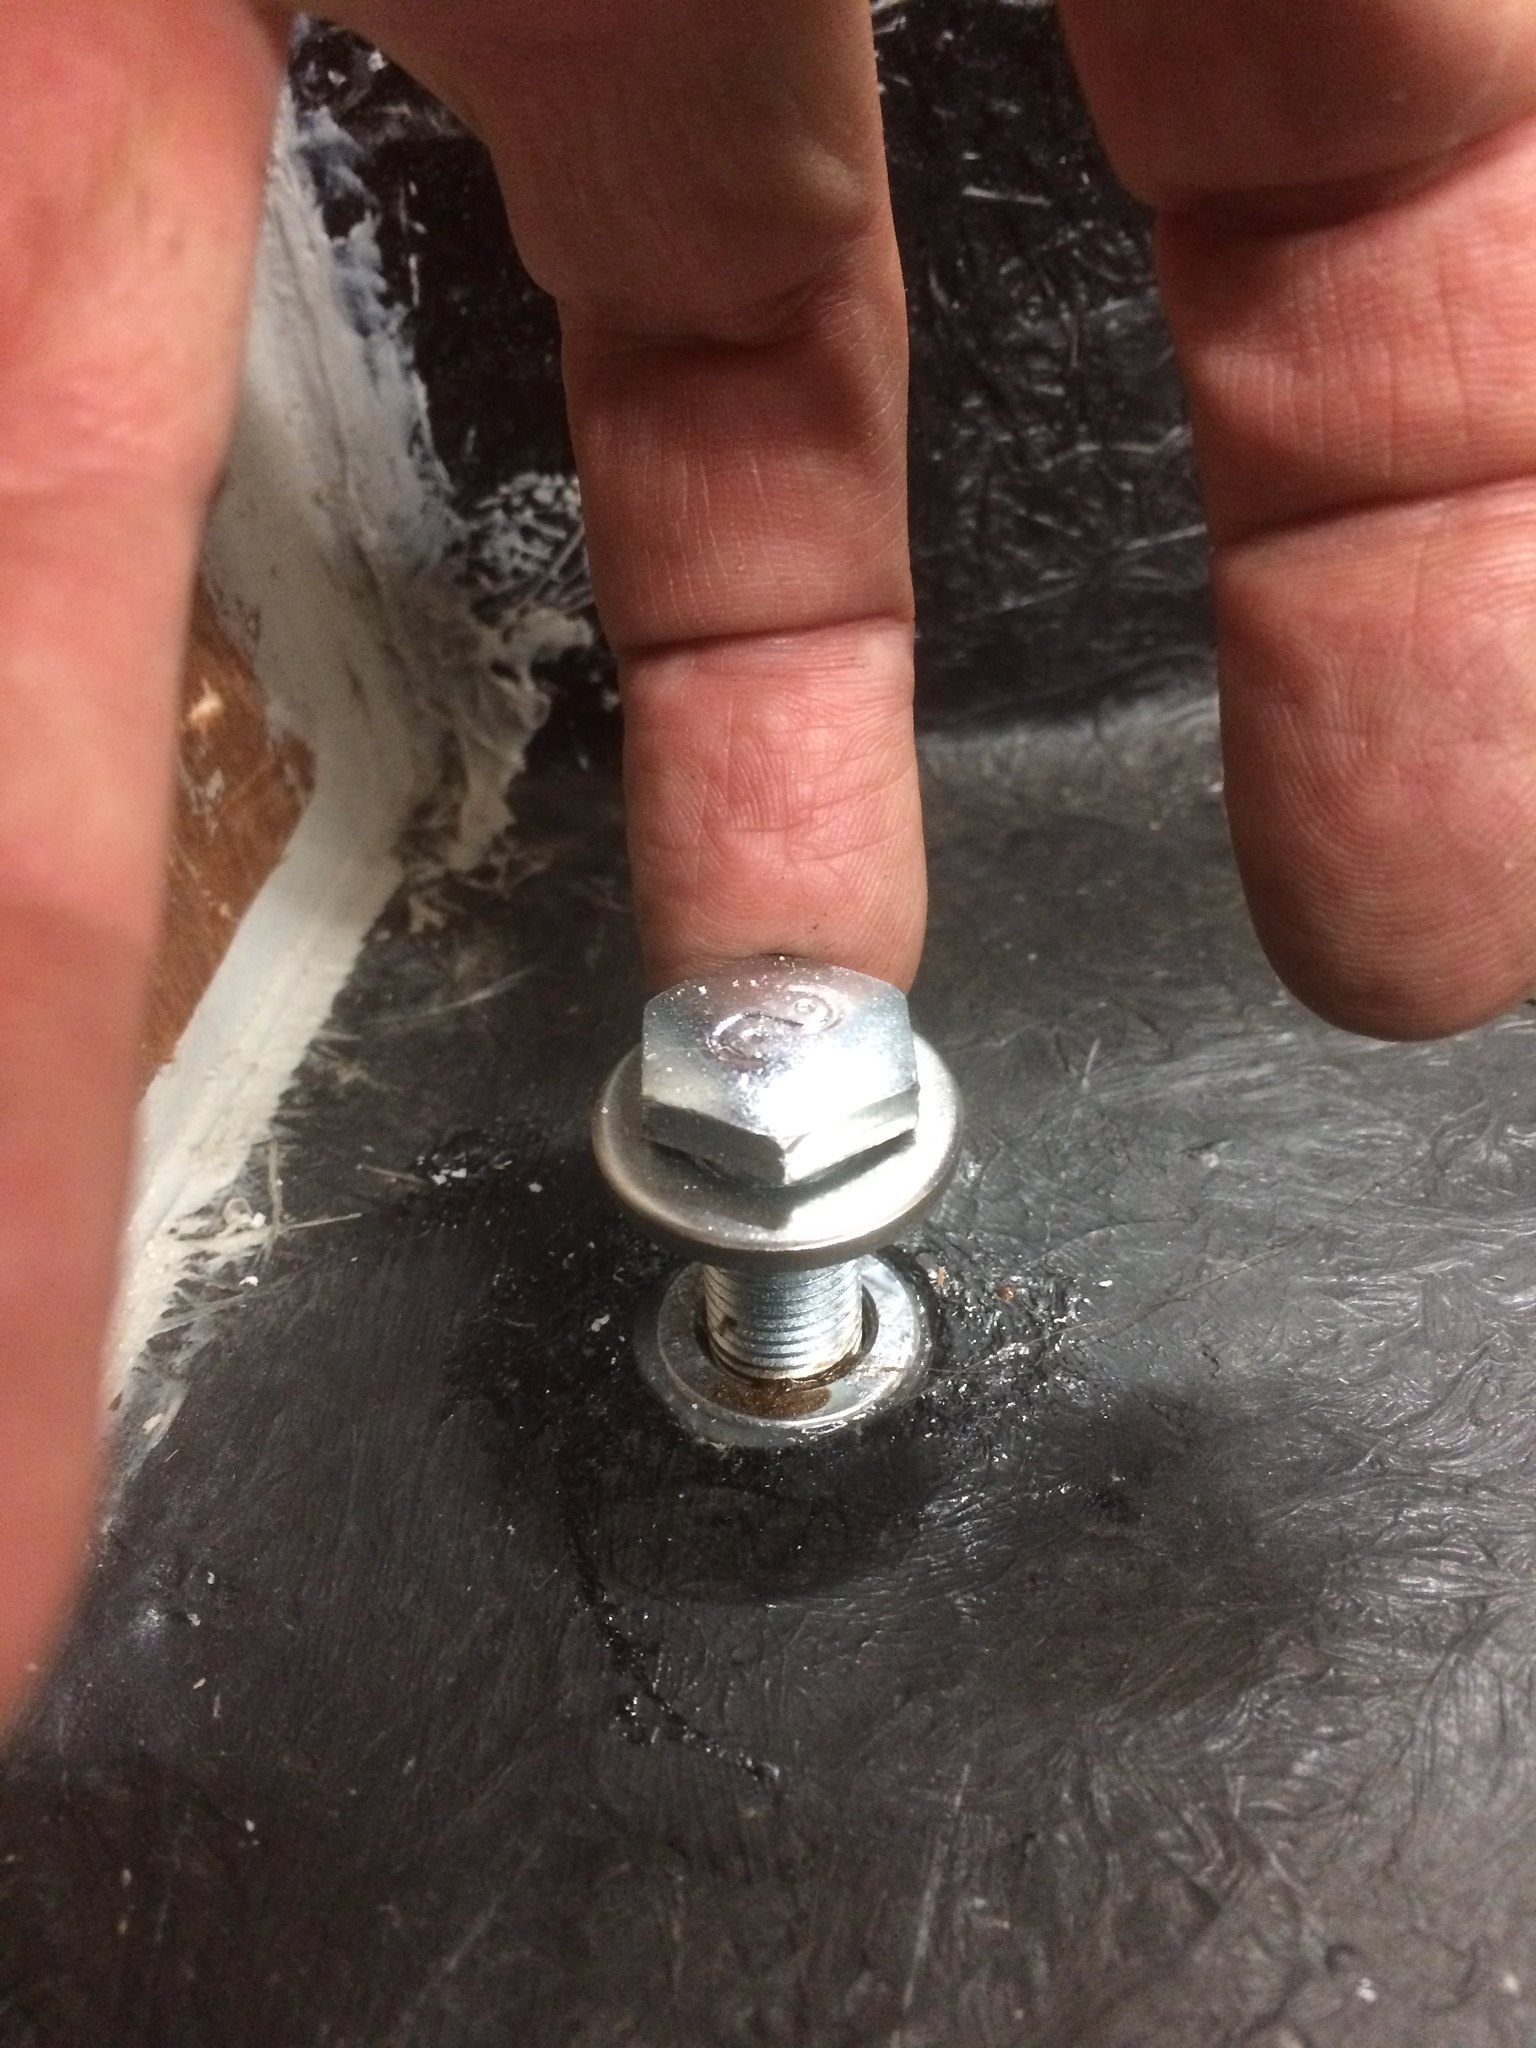
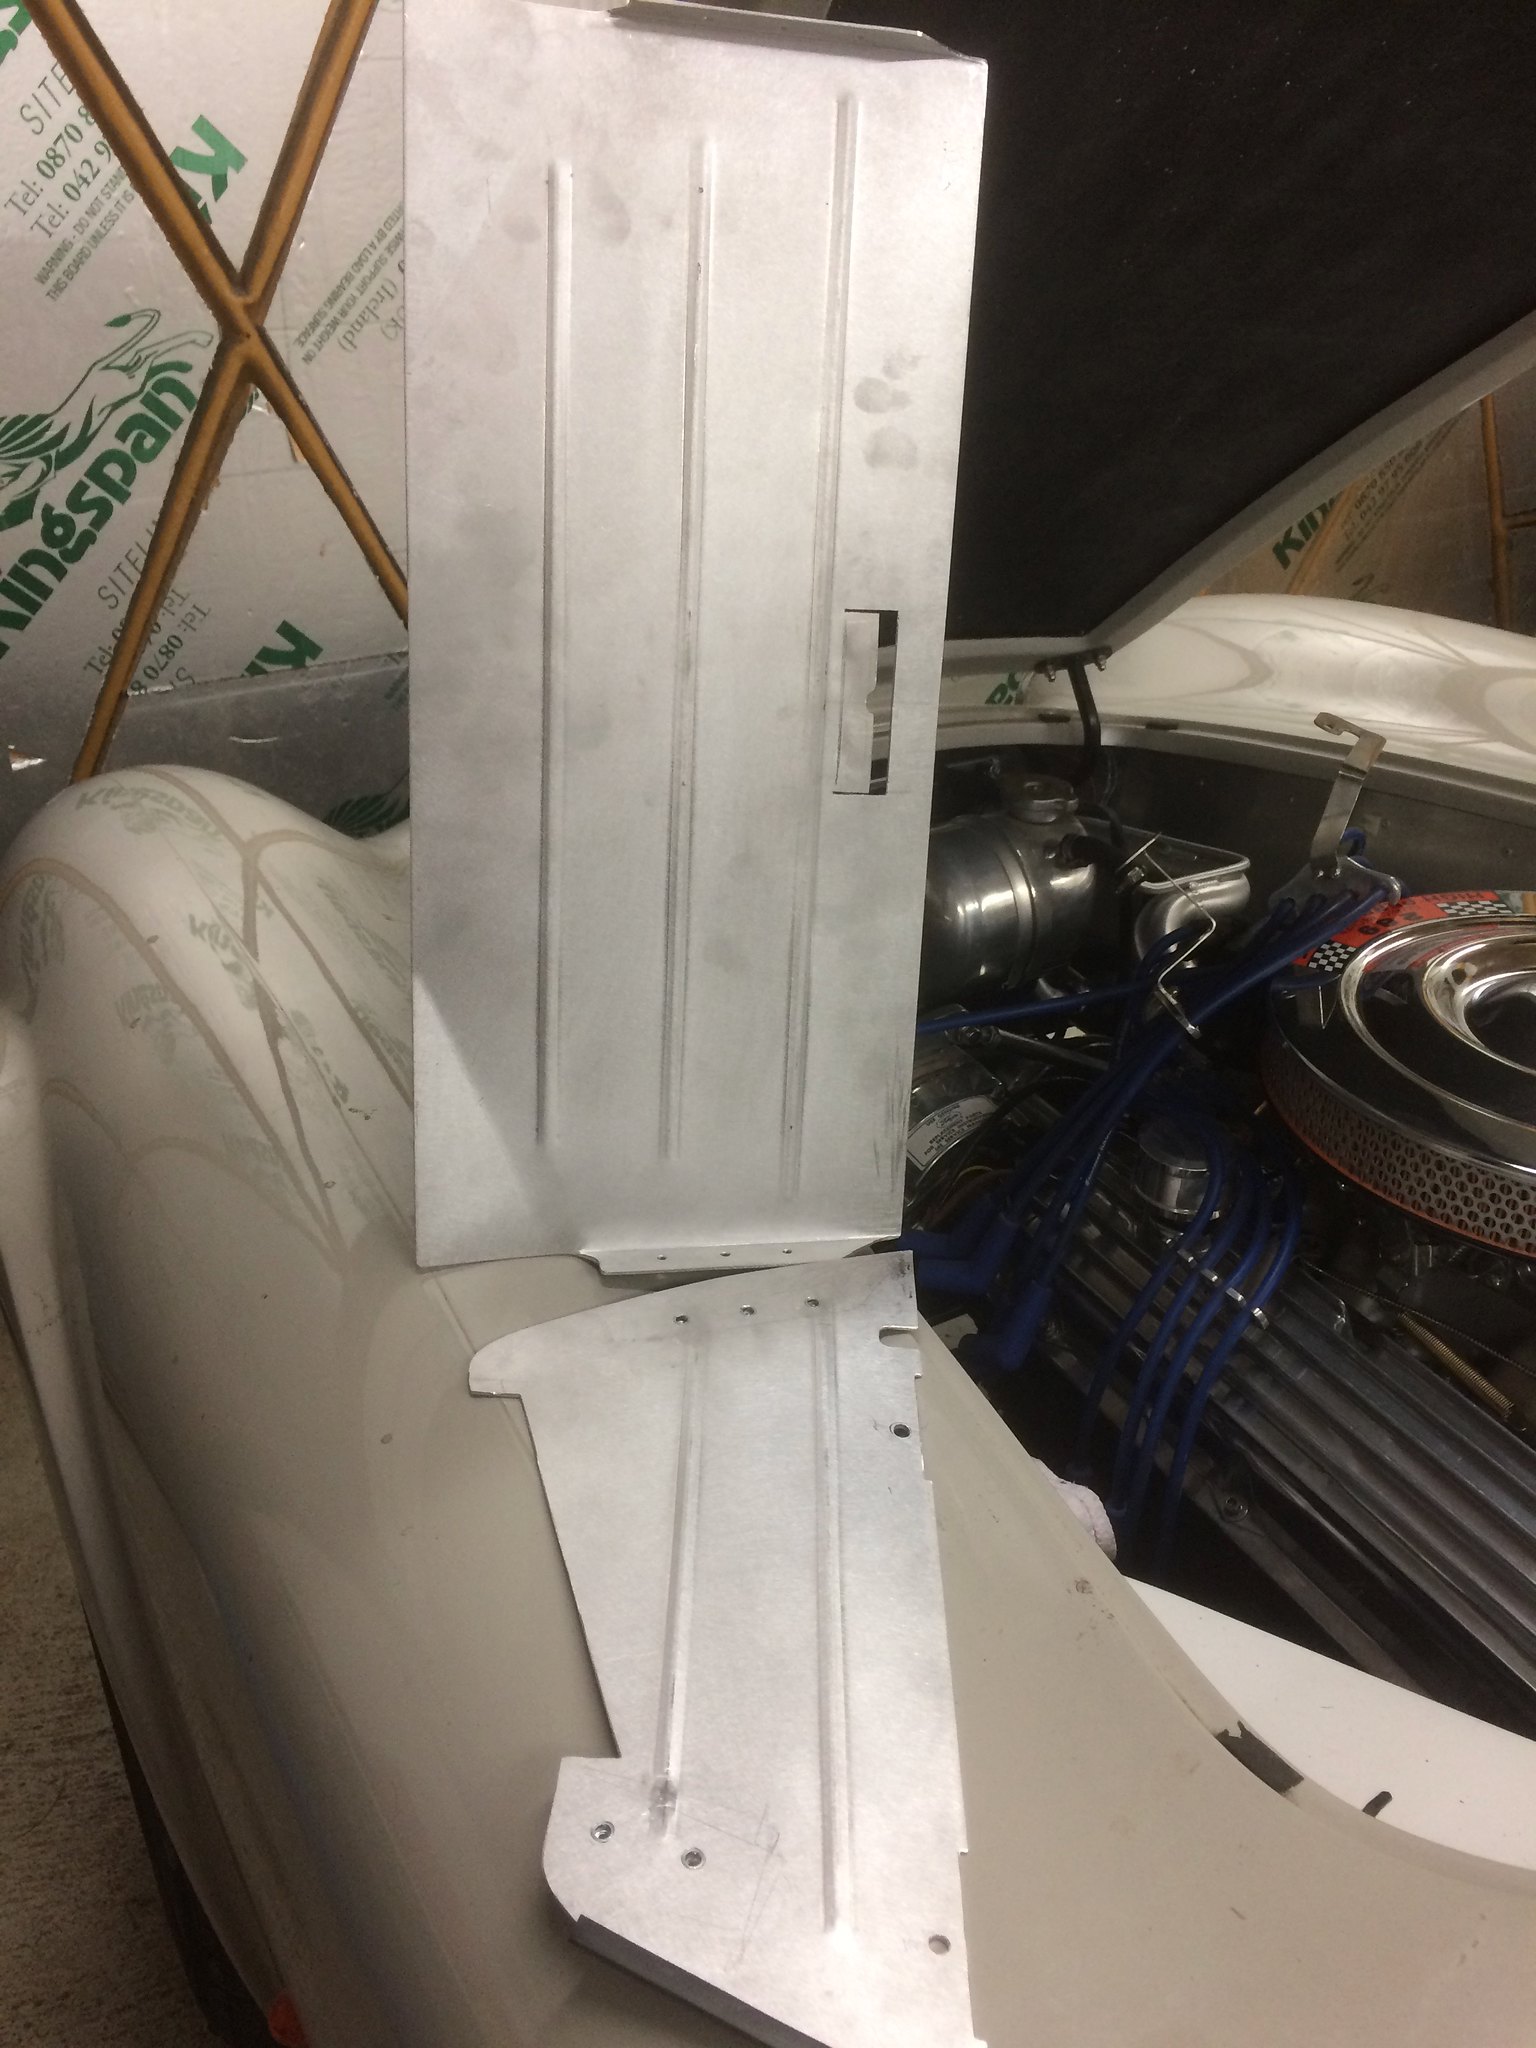
In this picture you can see the linear folds put in by Chris at Proalloy to stiffen the whole thing up. The cost of the aluminium, cutting, stiffening welds and forming of the box section that I will come to, was about £100 including postage, which I thought was pretty good. You an see the holes for the upper plate to bolt to the side plates. The holes in the rear edge are to bolt the forward facing side plates to the radiator each side of the core and the radiator itself and its fixings, which I described above, are more than capable of handling the load. The holes in the lower portion of the side plate at the front and just above the plastic strip are to locate the front aluminium section which is folded and welded so that it stops the hole arrangement losenging but sits out of sight beneath the air intake. Although you can just get your hand up the side of the side plates to put nuts on bolts, I only did this with M6 nuts and bolts to locate the side plates to the radiator, the rest of the assembly uses M4 Rivnuts and stainless bolts.
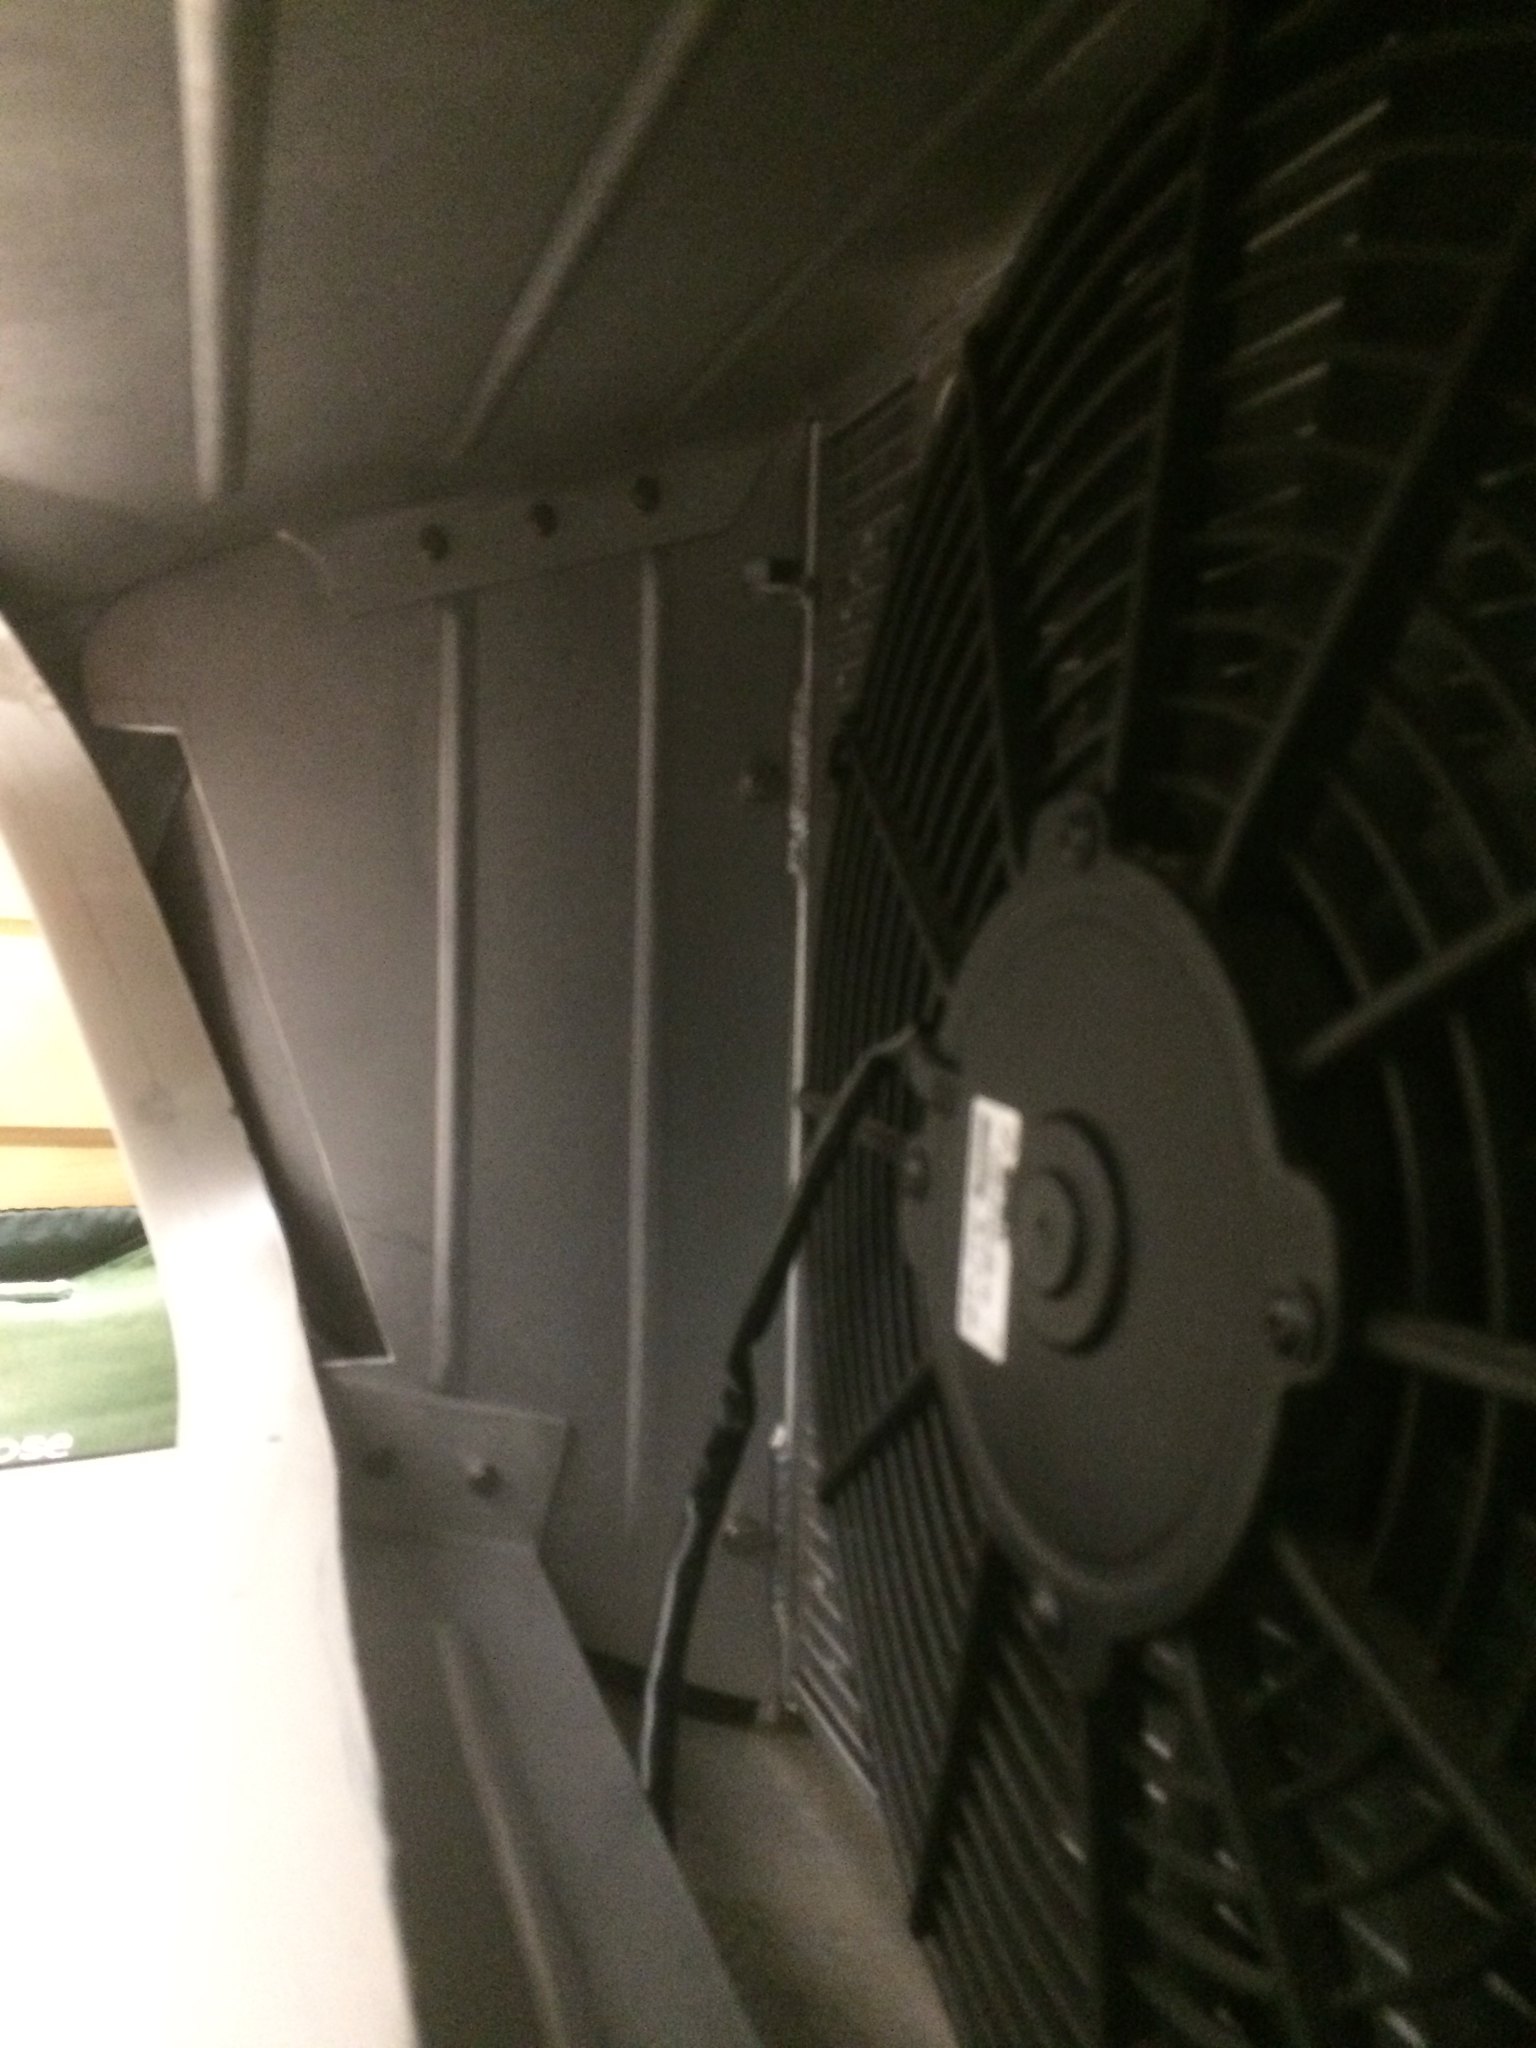
IMG_0720 by Cotton Mouth, on Flickr
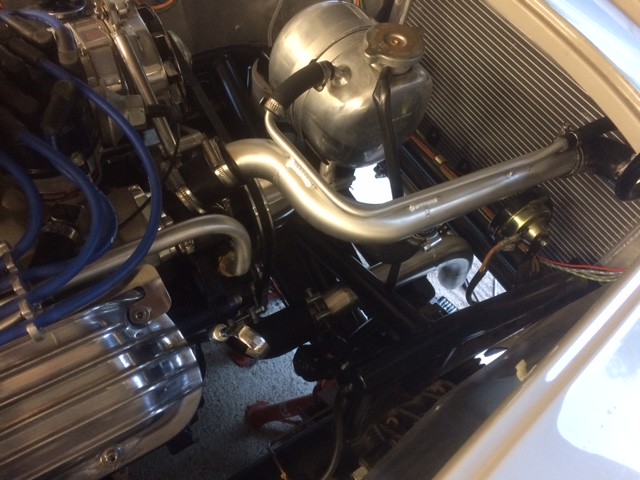
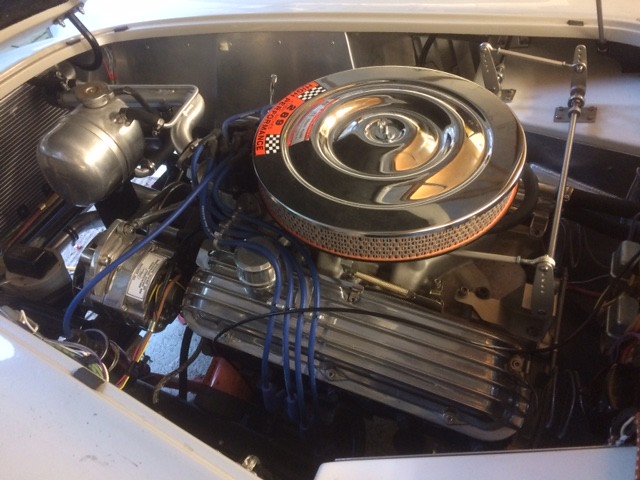
These is the final picture with the parts installed. You can see the box section in the lower portion. There will be a single picture in the next post as three is the maximum the site will allow me to load at a one go.
Best wishes to you all.
CM
Well I said I would.............
- Cotton Mouth
- T289R Member
- Posts: 182
- Joined: Sat Mar 08, 2008 8:38 pm
Re: Well I said I would.............
Last edited by Cotton Mouth on Mon Sep 25, 2017 5:39 pm, edited 3 times in total.
- Cotton Mouth
- T289R Member
- Posts: 182
- Joined: Sat Mar 08, 2008 8:38 pm
Re: Well I said I would.............
IMG_0719 by Cotton Mouth, on Flickr
The view form the engine bay is that there does not appear to be any shrouding in place.
IMG_0721 by Cotton Mouth, on Flickr
Finally, to use up my three photos allowance I installed the bolts for the brackets for the seat belts. This came with a couple of plated items that appeared to slide over the bolt but for which I could find no apparent use - please don't tell me I need them later as I then bonded these into the floor to make the holes in the ply look neater.
IMG_0672 by Cotton Mouth, on Flickr
As you see, I need to up the beer intake to medicate the OCD, such a shame. Have a good weekend.
CM
- StewbieC
- T289R Committee
- Posts: 1361
- Joined: Mon Oct 13, 2008 12:50 pm
- Location: out in the sticks, Shropshire
Re: Well I said I would.............
Hi James,
No need for the medication, very nice job on the rad shrouding.
It's good to take photos of the seat belt fixings and the SVA frame behind the seats (including the tension straps that tie the frame through the boot to the rear chassis) as the IVA tester will want to investigate them. If you have a spare bolt that you can show him too. It all helps to get across that you know what you are doing.
Not long now then?
________________________________________________
Stu
Hawk 289, 66 Mustang Fastback with a 289 maximum smiles per mile..
Stu
Hawk 289, 66 Mustang Fastback with a 289 maximum smiles per mile..
- Cotton Mouth
- T289R Member
- Posts: 182
- Joined: Sat Mar 08, 2008 8:38 pm
Re: Well I said I would.............
In terms of the statutory plate, am I right in thinking I only need the name of the kit maker, chassis VIN, the engine number and the front and rear axle weights? If so what do people put for front and rear weights please?
Re: Well I said I would.............
The IVA tester will give you the axle weights.
Mine for Ford 302/Jag IRS is 440Kg Front and 515Kg Rear.
Cheers, Clive.
(If I'm not here I'm in my workshop or on the golf course!)
- Cotton Mouth
- T289R Member
- Posts: 182
- Joined: Sat Mar 08, 2008 8:38 pm
Re: Well I said I would.............
Many thanks Clive.
Moving on slowly, moved the rear fog light to the off side (thank you Karl - the irony of a German being more au fait with the English IVA is not lost on me), installed the temperature senders for oil and water, just ordering the oil pressure line, all silicone pipes removed and sealed with gasket sealant after Stewie's dire warnings. Brake lines in place and now need bleeding. Front grill refitted after shrouding in place.
This is what the engine bay now looks like - headers yet to be fitted.
IMG_0779 by Cotton Mouth, on Flickr
IMG_0780 by Cotton Mouth, on Flickr
IMG_0777 by Cotton Mouth, on Flickr
Dash needs to come out once more and then steering is ready to be fitted after all parts were painted and powder coated. Then I think its time to start it up, fit the seats and IVA.
Regards to you all.
CM
- Cotton Mouth
- T289R Member
- Posts: 182
- Joined: Sat Mar 08, 2008 8:38 pm
Re: Well I said I would.............
May I ask for a spot of help? I have a hydraulic clutch on a Mustang T5 world series gearbox with a ground down fork. I have just bled the system and now the pedal is firm but when I push no motion at the fork. The fluid is DOT 4 and brand new. Everything was clean. Any ideas as I have an IVA date approaching last and would appreciate some help.
Also with the balance bar and ensuring that the front brakes have more pressure in them, which side of the balance bar moves farthest?
On a separate note, does anybody know anything about the changing emission regulations, are these coming in and if so when?
Many thanks.
Also with the balance bar and ensuring that the front brakes have more pressure in them, which side of the balance bar moves farthest?
On a separate note, does anybody know anything about the changing emission regulations, are these coming in and if so when?
Many thanks.
- amulheirn
- T289R Committee
- Posts: 1207
- Joined: Mon May 13, 2013 2:30 pm
- Location: Surrey/Hampshire
- Contact:
Re: Well I said I would.............
Probably not the case for you, but I was having no movement at the fork with a hydraulic clutch, and after a lot of f-ing and blinding, discovered I had left the pin out connecting the pedal to the master cylinder. So no movement at the clutch and no pedal return.
With regard to emissions, there was mention that it might come into law in July, possibly being implemented either then or Jan 2019.
I'm hoping to get an IVA test in on April 30th - even if I fail on something, at least I will have got my foot in the door before anything changes!
Would be interested to know the answer on the balance bar thing - I still have to sort that and drill it so no further adjustment is possible.
Re: Well I said I would.............
Balance
Well, don`t you read the installation instructions properly? The pushrod, which is closer to the spherical bearing (in the tube) gets more force than the other one. So you can select if the right or left cylinder is getting more force. Best this is done on a brake tester with rollers.
Happy adjusting
Karl
Re: Well I said I would.............
Interesting subject brake balance. As I have a Jag rear axle the weight distribution is 46/54 in favor of the rear. I took the decision to set the balance bar as equal bearing in mind that adding a driver puts more weight to the rear.
At the SVA it all worked perfectly well with a emergency stop in front of the tester.
Peter C
At the SVA it all worked perfectly well with a emergency stop in front of the tester.
Peter C