project insanity
-
Roger King

- Posts: 4396
- Joined: Mon Mar 19, 2007 10:29 pm
- Location: St Ives, Cambs
Re: project insanity
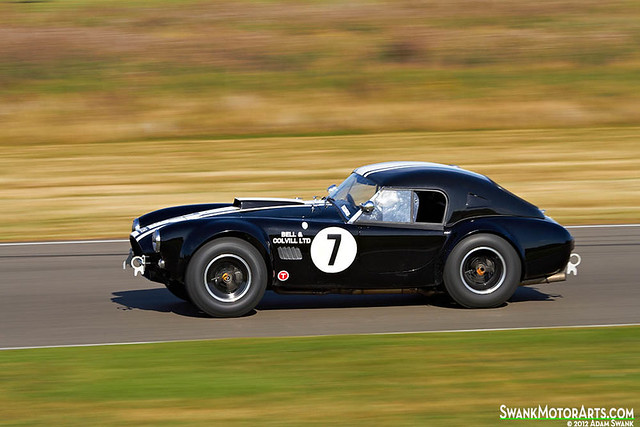
Just for info - original cars did not have a wired edge around the grille, just a 1" or so flat return pointing towards the radiatior. Race cars could have anything, of course.

Re: project insanity
Thanks Roger, I figured that that was the caseRoger King wrote:Just for info - original cars did not have a wired edge around the grille, just a 1" or so flat return pointing towards the radiatior. Race cars could have anything, of course.
cheers..Nige
-
Roger King
- Posts: 4396
- Joined: Mon Mar 19, 2007 10:29 pm
- Location: St Ives, Cambs
Re: project insanity
Ah! Erm -- no ideaagnoraan wrote:'m assuming that the leading edge on that is wired.
cheers..Nige
-
Roger King
- Posts: 4396
- Joined: Mon Mar 19, 2007 10:29 pm
- Location: St Ives, Cambs
Re: project insanity
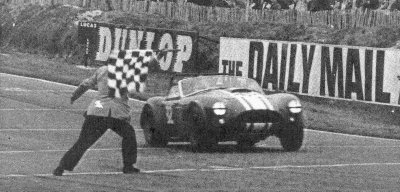
Prefer the earlier version, without, tbh.


Re: project insanity
Had a bit of spare time so I thought I'd make the oil cooler grille apperture for the lower valance. I don't really need to make this at this time as it will be made from aluminium when the main body gets done, but I just wanted to see what it would look like anyway. Based on the measurements that Alan scaled up, I drew it out onto a piece of card first.

This will be made from aluminium on the body & will have a wired edge, but for the purposes of just seeing how it looks, I formed a bit of 1/4" bar to mimic the wired edge. I then made the shape of the appertutre by bending it around a 3" hole saw

I then beveled the edges,so that when it was welded together, I could grind it down without fear of grinding through the weld.

Last edited by agnoraan on Mon Nov 17, 2014 8:28 pm, edited 3 times in total.
Re: project insanity
This was then placed into a bit of angle iron, so that when it was welded together, the joint would butt up perfectly & keep its shape.

Once joined together it looks like this

A piece of zintec steel was then formed to shape rolled around a piece of 3" tube.


Once joined together it looks like this

A piece of zintec steel was then formed to shape rolled around a piece of 3" tube.

Last edited by agnoraan on Mon Nov 17, 2014 8:31 pm, edited 3 times in total.
Re: project insanity
This piece of zintec was then welded together & put into the apperture, which was then tacked to the zintec sheet..

When making a butt joint in steel, I clamp a bit of flat sheet copper behind the joint. No doubt you've found that when trying to weld a butt joint in thin steel, it tends to blow more holes into the steel than it does welds. By placing a piece of copper behind the joint, you can weld the two pieces together, & the copper stops the weld from blowing holes, enabling you to weld the two pieces together as the weld won't adhere to the copper, but it bridges the gap between the joint. (hope that makes sense)
Having ground down the welds, I then calculated the shape of the apperture needed to cut into the front valance. By placing the new panel into that hole, I was then able to figure out the shape of the new panel & trim it accordingly


Tomorrow I'll post up the pictures of this piece being welded to the front valance, but for now I've got to go & have my tea, beef curry, Mmm
Cheers...Nige