BRA289 customized recreation

Re: BRA289 customized recreation
Want to make my own tonneau. Can someone send some detailed pics of a tonneau. Main interest are the edges and underneath. Thanks in advance.
Special customized BRA289
-
Roger King

- Posts: 4396
- Joined: Mon Mar 19, 2007 10:29 pm
- Location: St Ives, Cambs
Re: BRA289 customized recreation
...in rivetted aluminium? Not sure where the hinges go...Migge wrote:Want to make my own tonneau. Can someone send some detailed pics of a tonneau. Main interest are the edges and underneath. Thanks in advance.


Re: BRA289 customized recreation
Hi Migge ,
Hope attached meets your needs. If not let me know what more you need.
My tonneau is Hawk standard for an FIA.
The gasket ( 6 x 20 ) seen around the edge is my mod to make it more waterproof. You do have to double up the thickness in the valleys.
The leather patch on the other photo is to rub on the seat belt connection. High mounting point to suit the SVA.
The portion that goes over the roll bar is enlarged at the rear to cover the large FIA filler cap.
Peter C
You do not have the required permissions to view the files attached to this post.
Re: BRA289 customized recreation
Hi Migge,
More thoughts on the manufacture of your tonneau.
Hawk's trimmer only put two poppers on the sides over the doors. I added a third in the middle as the wind would make it flap too much. Bearing that in mind you would of course need to consider the leading edge where it's not protected by the aero screen.
Another thing is that it's not very easy to drive with the passenger side left in position. The main issue is caused by the enlarged portion covering the roll bar and diagonal brace. Trying to stuff the rolled up drivers side behind/ into the passenger area doesn't work too well. I think you ought to consider a two piece item so that the drivers side can be completely removed and put into the boot.
Best of luck.
Peter C
Re: BRA289 customized recreation
That were exactly my thoughts Peter. Thanks for your input. I'll have two halfs. The templates are done 
When time will allow it, even when it was not on the Executor, I'll make a aluminium/GRP cover for the passenger side, shiny yellow or black.
But that is just a thought right now.
Cheers
Migge
When time will allow it, even when it was not on the Executor, I'll make a aluminium/GRP cover for the passenger side, shiny yellow or black.
But that is just a thought right now.
Cheers
Migge
Special customized BRA289
Re: BRA289 customized recreation
My templates will go to the guy with the sewing machine today 
Special customized BRA289
Re: BRA289 customized recreation
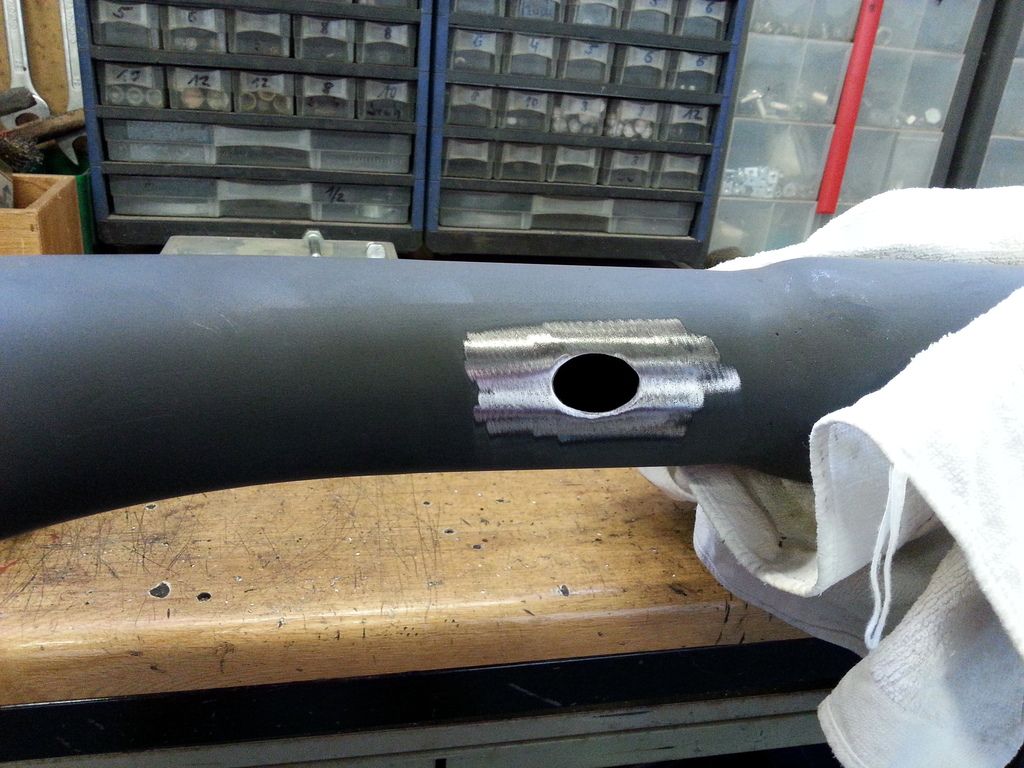
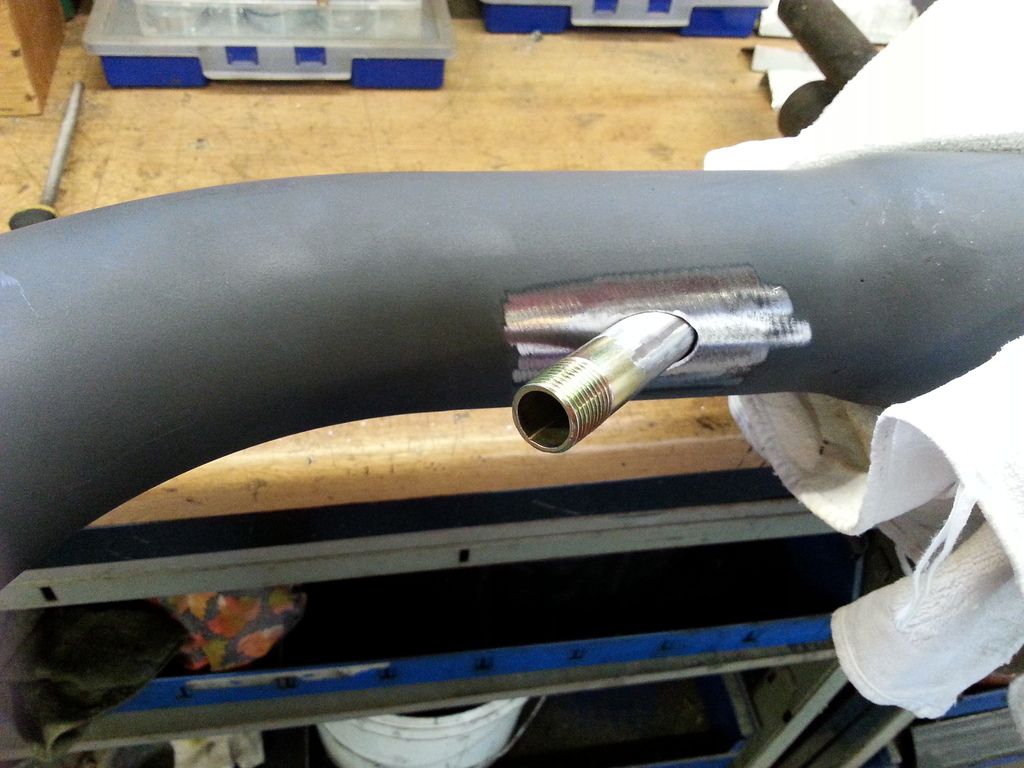
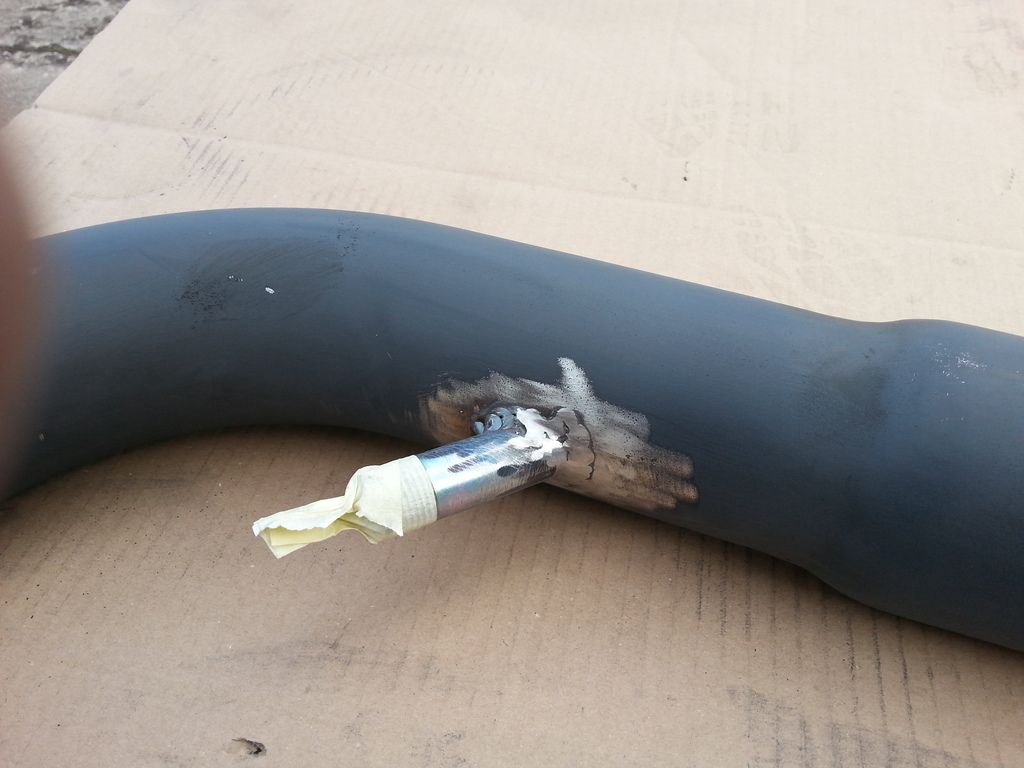
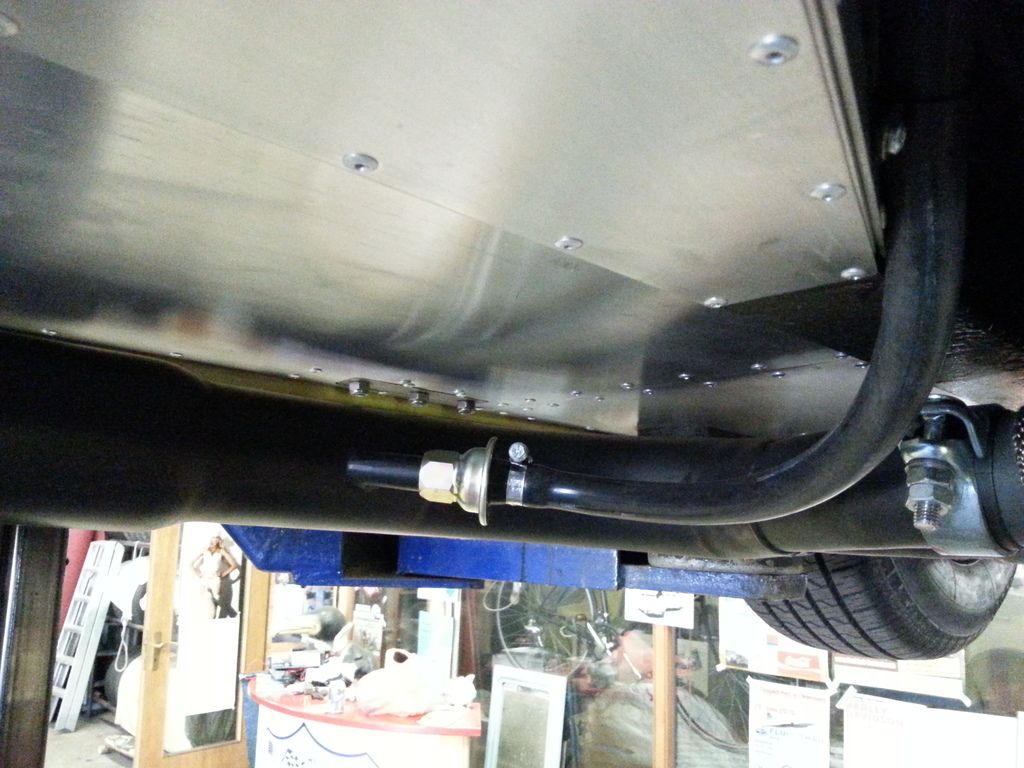
Will test my evacuation system on the weekend. The tubes will go into one breather on each valve cover. The other two breathers are closed. This will cause vacuum and I hope to get the leaks stopping. New dizzy seal nad o-ring again, new oil sump gasket too and new oil.


Special customized BRA289
Re: BRA289 customized recreation
Okay gents,
After try&error I think the problem with the dizzy oil leak is solved. Thought that the little but permanent oil puddle under the dizzy stump came from the the bolt hole from the clamp or the O-ring because of too much pressure. Disconnected my additional oil feed pipe for the dizzy, still leaking. Changed the bolt to a stud and renewed the O-ring twice, still leaking. Was sure that the evacuation system (tubes from the breathers to the exhausts to produce vacuum) would be the BIG help to minimize pressure, still leaking. Renewed the dizzy O-ring again, a bit thicker and just fitting in, still leaking. Removed the dizzy again (I don't know how many times) and recognized oil under the cap!!
After removing the black plastic cover inside the dizzy and after additional inspection I could see a 2 mm high oil puddle at the bottom of the dizzy body!
The body has two small holes at the bottom. The Rover dizzy sits at an angle as anybody knows. Not vertical as a Ford or Chevy. One of the hole is at the lower position of the dizzy body when mounted. The addional oil feed for the dizzy is great to minimze the gear wear. But the aditional oil on the gears will cause oil inside the dizzy along the spindle too and that is turning to the top aka the body. When the oil is on a certain level in the casting it will drop through the bottom hole of the casting and hit the timing cover at the area where the clamp sits.
I disconnected the feed pipe again and made a 5 miles test drive yesterday. No oil anywhere
I hope that this problem is solved but that will show a longer run.
Special customized BRA289
Re: BRA289 customized recreation
Well,
After a 30 miles drive, new oil puddle
It drives me crazy but I'll find a solution.
After a 30 miles drive, new oil puddle
It drives me crazy but I'll find a solution.
Special customized BRA289