Just followed up with Gerry re my bonnet. No sign of mine yet.
He's apparently very busy making all original parts for the GT40 and Cob race cars.
Well, that didn't fit
-
Dave Woodward

- T289R Member

- Posts: 917
- Joined: Sun May 06, 2007 10:00 pm
- Location: Cheshire
- Contact:
Re: Well, that didn't fit
__________________________________
I say, ding dong!
I say, ding dong!
-
Dave Woodward
- T289R Member
- Posts: 917
- Joined: Sun May 06, 2007 10:00 pm
- Location: Cheshire
- Contact:
Re: Well, that didn't fit
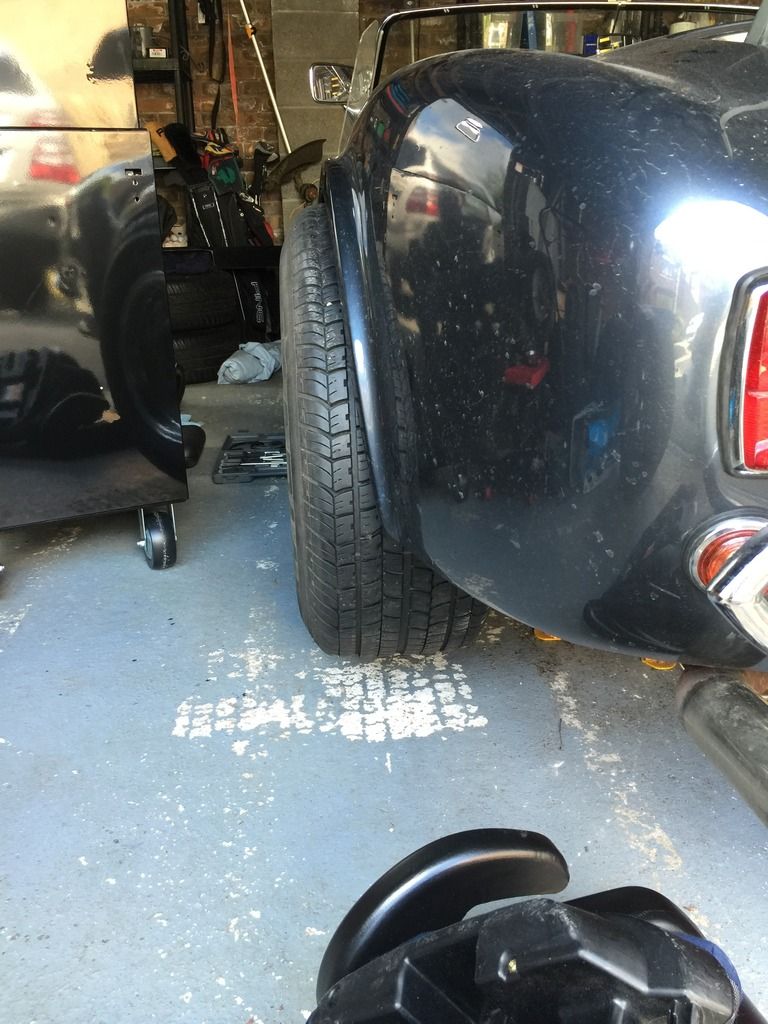
Bonnet arrived 
Trial fitted wheels. They'll be fine
Trial fitted wheels. They'll be fine

__________________________________
I say, ding dong!
I say, ding dong!

Re: Well, that didn't fit
[quote="Dave Woodward"]Bonnet arrived
Trial fitted wheels. They'll be fine
Dave, they fit just right, great Carlos Fandango look going on there (showing my age there lol).
Would you go for this look?

Or this one with the arch lip?

Or the slightly more wild one, again with the arch lip?

Nige
Trial fitted wheels. They'll be fine
Dave, they fit just right, great Carlos Fandango look going on there
Would you go for this look?

Or this one with the arch lip?

Or the slightly more wild one, again with the arch lip?

Nige
-
Dave Woodward
- T289R Member
- Posts: 917
- Joined: Sun May 06, 2007 10:00 pm
- Location: Cheshire
- Contact:
Re: Well, that didn't fit
All look totally sweet to me, especially 1 and 3
__________________________________
I say, ding dong!
I say, ding dong!

Re: Well, that didn't fit
Am I the only one unable to open these photo files ?
Re: Well, that didn't fit
And suddenly I can. Now I can see what you are talking about. It does help.
Re: Well, that didn't fit
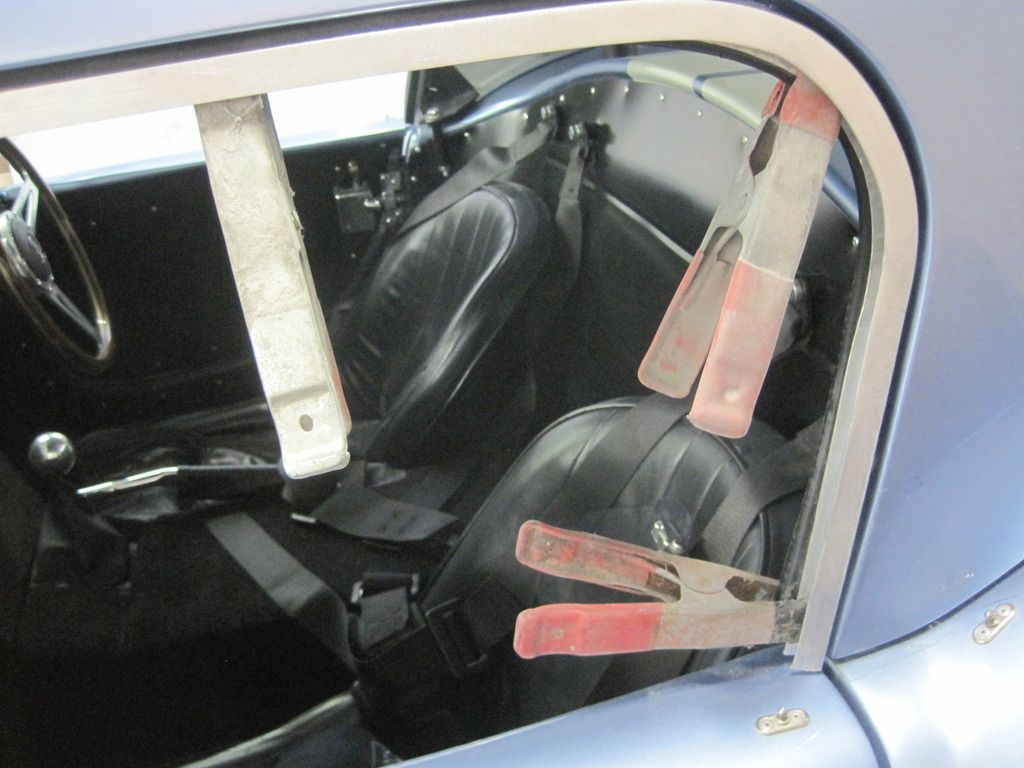
With Silverstone looming, I thought that now might be the right time to make some sidescreens for the car, not least of all because my better half, Nadine, is coming along too. I didn't want her first long trip in the car to be a windswept affair that could put her off going anywhere else in it. Having looked at various types of sidescreens, I decided that I wanted something that kept the race car look, whilst still being functional. The inspiration came from Alan, who posted up photos of his lovely green ERA on here for sale a few weeks ago.
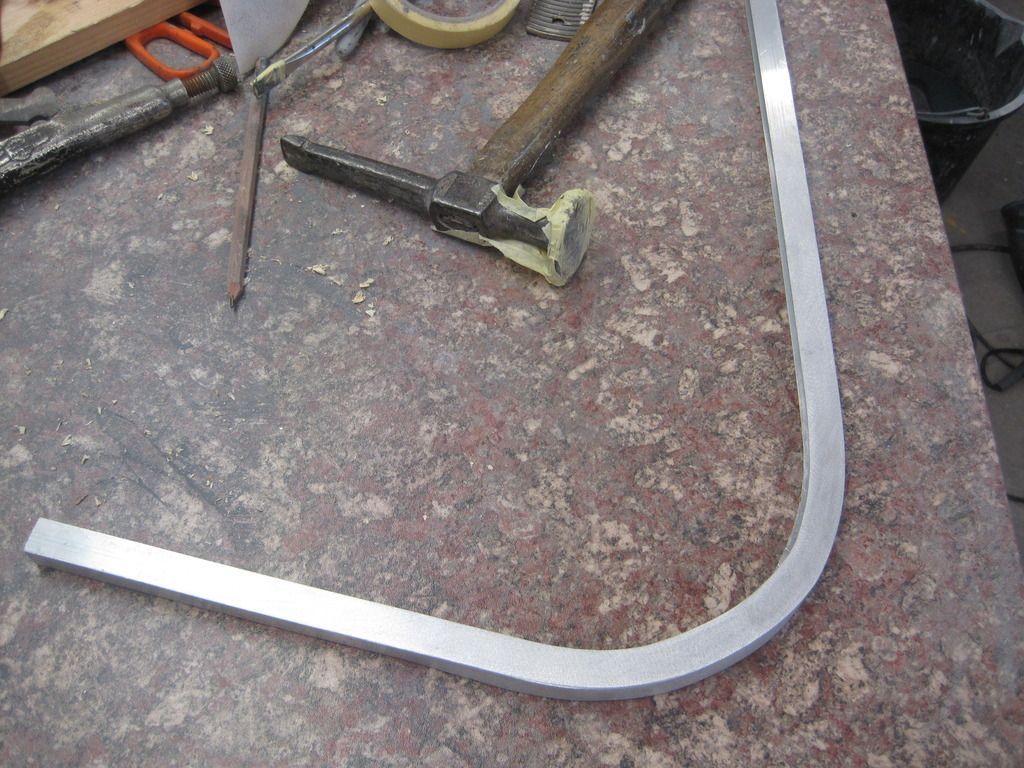
I started off with some 15 X 15 x15 x 1.5 mm section as the size is just right to sit against a door seal, whilst not protruding too far outside the profile of the roof.
A template was taken of the window aperture which would form the basis for all fo the cuts etc to be made

To enable the aluminium to bend it has to be annealed, otherwise it will just crack and lose its shape. I worked out where the bend was to be and scribed it with a permanent marker pen.
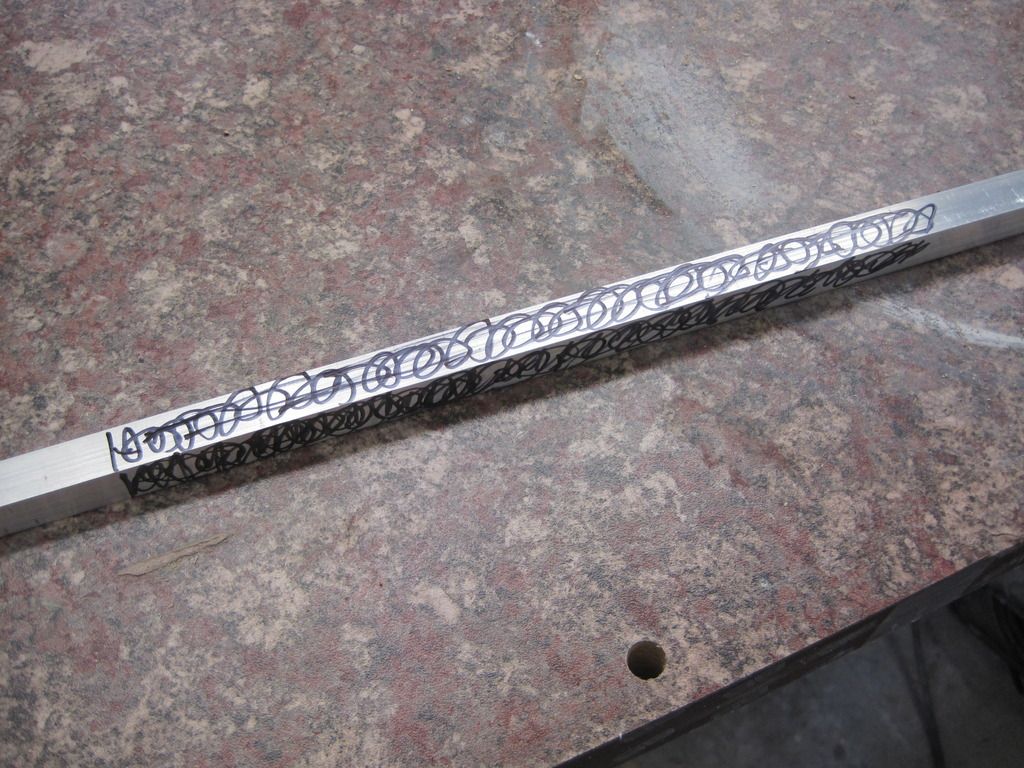
This was then heated up with a blowtorch.
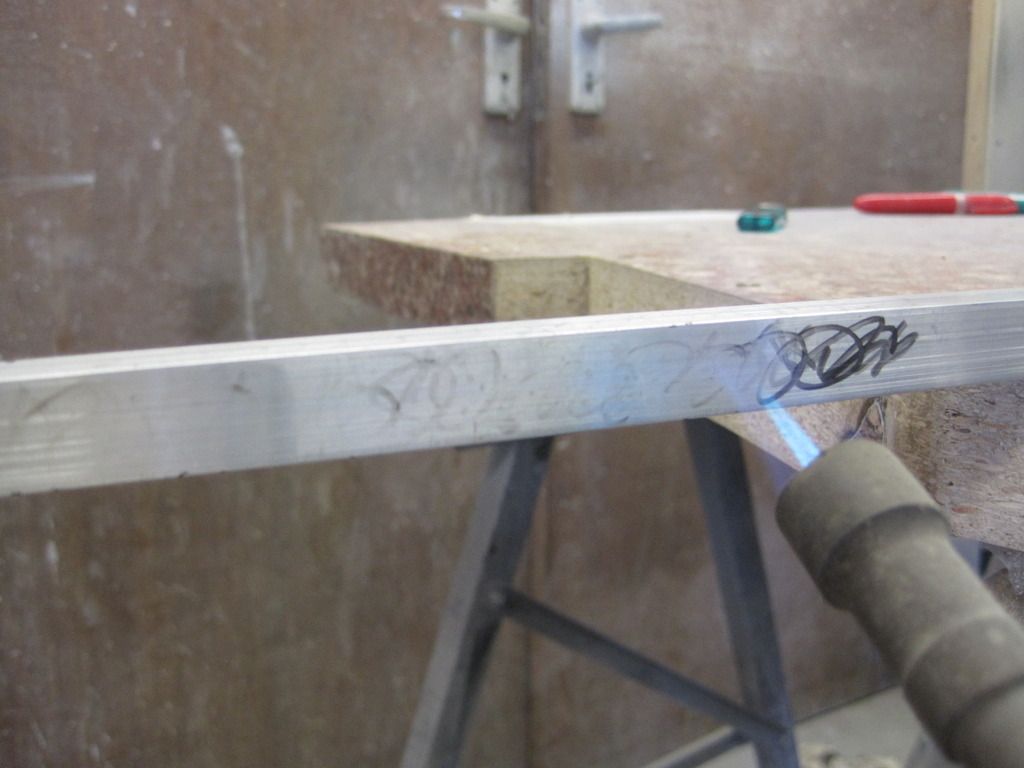
.......until the permanent marker had disappeared. Once the marker pen has gone it's annealed to the right temperature.
I then made a simple jig that would fit the profile of the inside of the box section. This would help to stop it collapsing in on itself when the bends were being made. The aluminium was then gently formed around the jig, with plenty of brute force and ignorance, ...No no, I mean a rubber mallet. As it was being worked I cable tied the aluminium to the jig to hold it's form
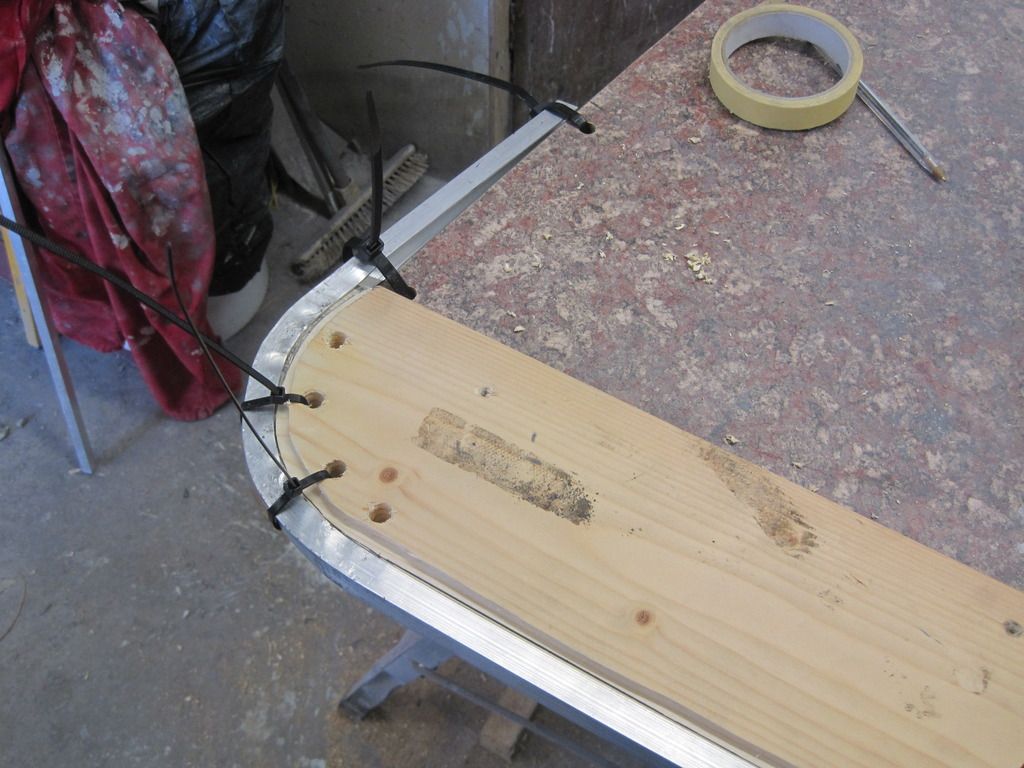
It didn't turn out too badly, with only a few creases in it. Once off the jig, I was able to hammer and dolley it smooth and get the profile exactly right. After a little bit of filing and sanding I ended up with this
The formed piece was then trial fitted to the car. Once found to be a good fit all of the other sections were cut, and mitred.
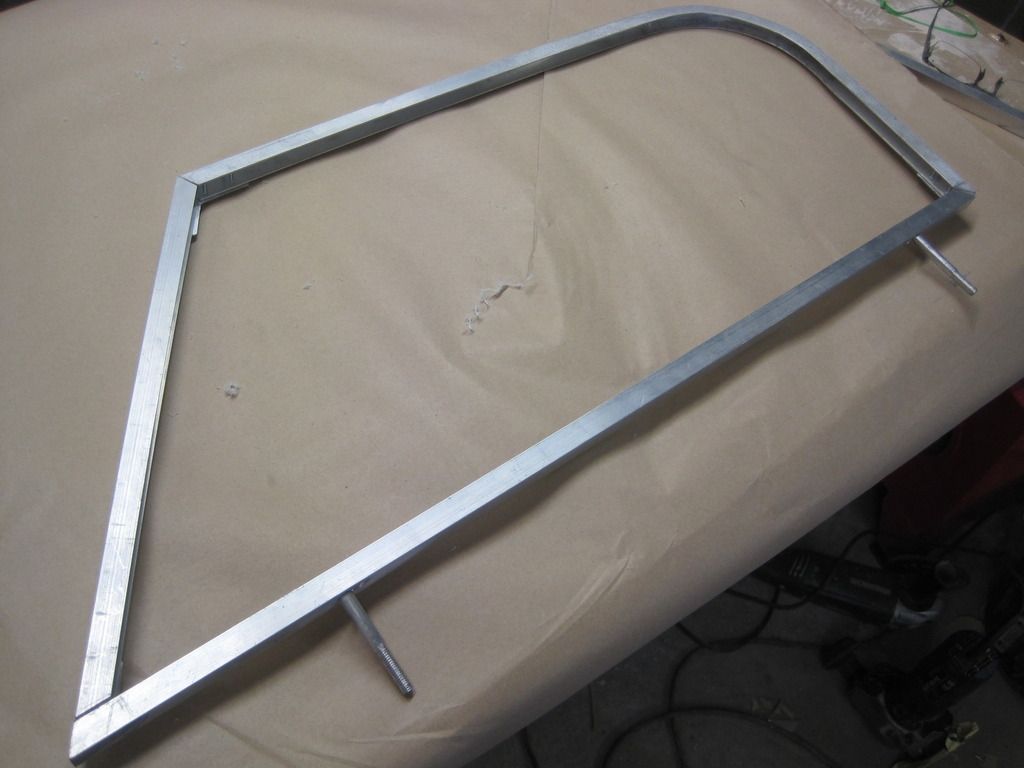
Nik, the kind soul that he is had previously made me some ferrules for the door tops. Thanks buddy, you're a star I made a set of pegs to bolt and later weld to the bottom of the frame. I thought it might be a good idea to thread the bottom of the pegs, so that once fitted I can use wing nuts to secure the frames to the doors
The basic frame before assembly.
 ]
]
A piece of laminate was then cut to shape, with a hole cut into it for the sliding window. this was then riveted to the frame making it quite a sturdy fixture.
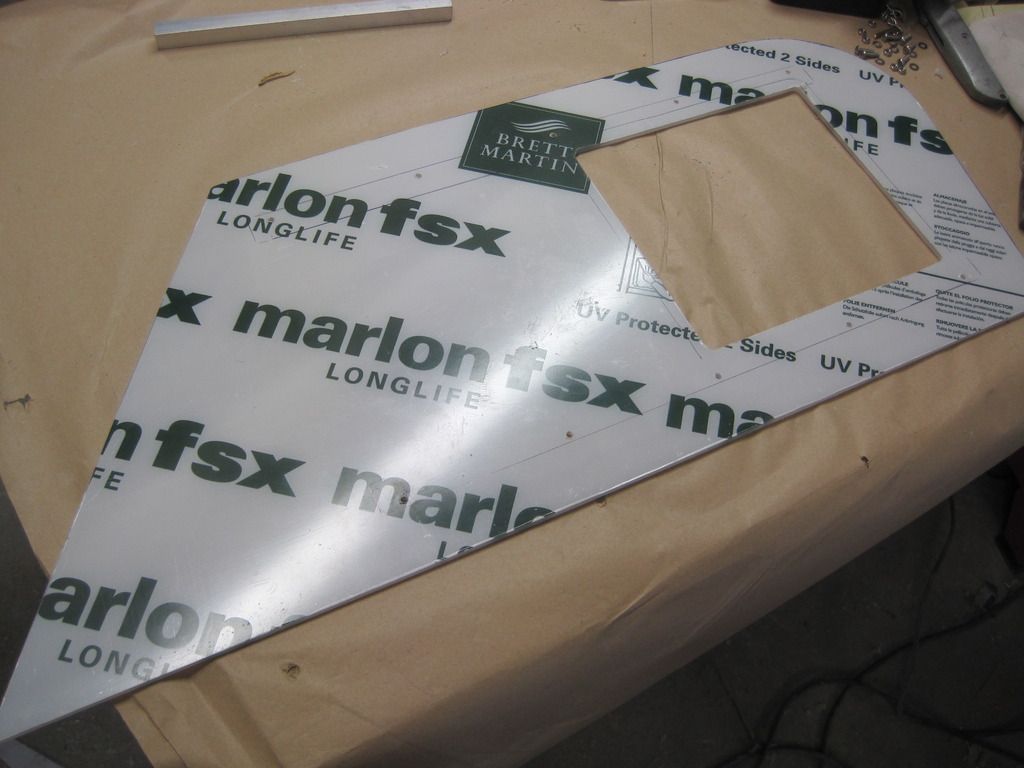
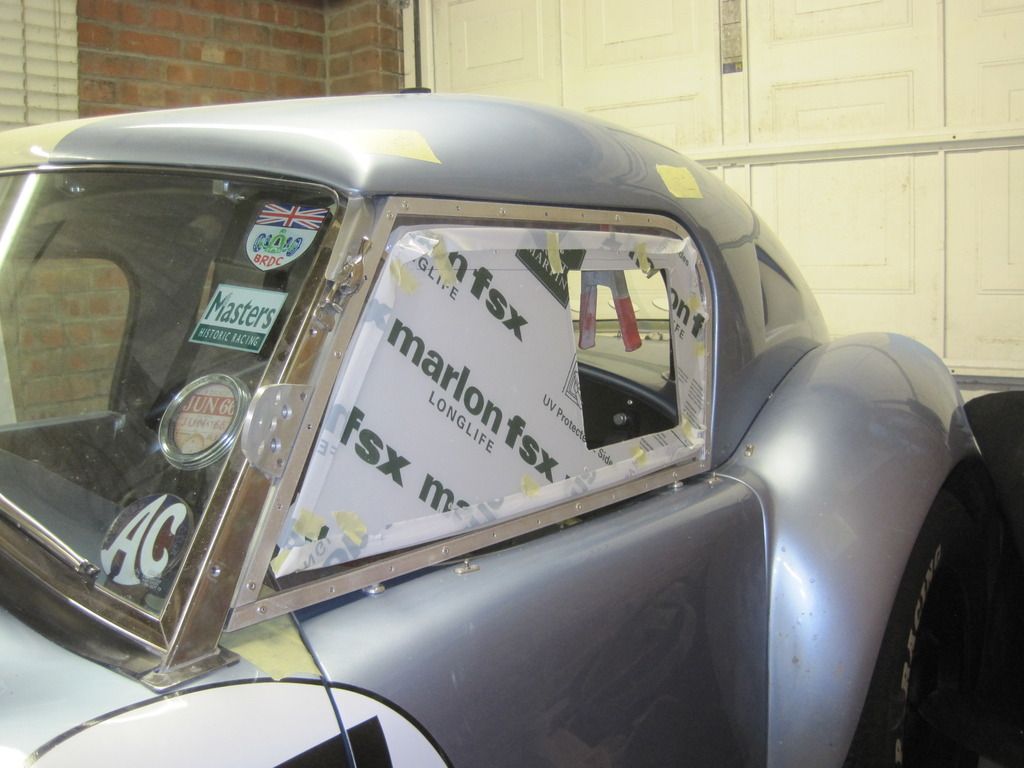
Some laminate was then milled by a friend to make the sliders for the side window. The whole lot was then bolted to the screens using domed head bolts

The gap under the frame will be taken up with some 6mm foam seal. I've also added a velcro strap to the top of the door, which will attach to the inside of the roof to stop the frame from moving whislt driving. I just don't know if I'm going to have enough time to do the drivers side before Silverstone.
Nige
I started off with some 15 X 15 x15 x 1.5 mm section as the size is just right to sit against a door seal, whilst not protruding too far outside the profile of the roof.
A template was taken of the window aperture which would form the basis for all fo the cuts etc to be made
To enable the aluminium to bend it has to be annealed, otherwise it will just crack and lose its shape. I worked out where the bend was to be and scribed it with a permanent marker pen.

This was then heated up with a blowtorch.

.......until the permanent marker had disappeared. Once the marker pen has gone it's annealed to the right temperature.
I then made a simple jig that would fit the profile of the inside of the box section. This would help to stop it collapsing in on itself when the bends were being made. The aluminium was then gently formed around the jig, with plenty of brute force and ignorance, ...No no, I mean a rubber mallet. As it was being worked I cable tied the aluminium to the jig to hold it's form

It didn't turn out too badly, with only a few creases in it. Once off the jig, I was able to hammer and dolley it smooth and get the profile exactly right. After a little bit of filing and sanding I ended up with this

The formed piece was then trial fitted to the car. Once found to be a good fit all of the other sections were cut, and mitred.

Nik, the kind soul that he is had previously made me some ferrules for the door tops. Thanks buddy, you're a star
The basic frame before assembly.
 ]
]A piece of laminate was then cut to shape, with a hole cut into it for the sliding window. this was then riveted to the frame making it quite a sturdy fixture.


Some laminate was then milled by a friend to make the sliders for the side window. The whole lot was then bolted to the screens using domed head bolts
The gap under the frame will be taken up with some 6mm foam seal. I've also added a velcro strap to the top of the door, which will attach to the inside of the roof to stop the frame from moving whislt driving. I just don't know if I'm going to have enough time to do the drivers side before Silverstone.
Nige
Last edited by agnoraan on Sat Jan 11, 2020 1:06 pm, edited 1 time in total.
-
Roger King

- Posts: 4396
- Joined: Mon Mar 19, 2007 10:29 pm
- Location: St Ives, Cambs
Re: Well, that didn't fit
Very nice, Nige. I do like a nice bit of fabrication.
Did I mention that Cobras are utterly horrible with sidescreens on? I've used mine once in 10 years and now consider them to be there only for show. A better approach is to get mirror-image wet sleeves together. Are you making anti-rattle bumpers for the top of the screen, where the sidescreen fits? I can give you drawings for the originals, or look at my car at Sliversnot.
Did I mention that Cobras are utterly horrible with sidescreens on? I've used mine once in 10 years and now consider them to be there only for show. A better approach is to get mirror-image wet sleeves together. Are you making anti-rattle bumpers for the top of the screen, where the sidescreen fits? I can give you drawings for the originals, or look at my car at Sliversnot.
